
Project: Design and Configuration Secure and Scalable Network for Web Applications in Microsoft Azure


Table of contents
- Project Scenario
- Introduction
- Architectural Diagram
- Project Scope
- Security Measures
- Prerequisite
- Step 1: Set up virtual networks, subnets, and peering.
- Step 2: Implement VPN Gateways for secure connectivity to on-premises.
- Step 3: Create and configure Firewall and Firewall policy
- Step 4: Application Gateway (with web application firewall)
- Step 5: Create DDoS Protection
- Step 6: Configure network security groups
- Step 7: Configure Resources for High Scalability and Availability
- Step 8: monitoring
Project Scenario
AcaTech Ltd is a mid-sized IT services company that is undergoing a digital transformation to modernize its infrastructure. They provide web-based applications and services to clients
The Challenge
Scaling On-Premises Infrastructure
- AcaTech Ltd, has seen a surge in user activity, and its on-premises infrastructure cannot scale quickly enough to meet demands. They need a cloud solution that allows for dynamic scaling based on demand.
Secure Connectivity
- Some business applications must remain on-premises for compliance reasons, so the company needs secure, reliable communication between the cloud and on-premises resources
Project Overview
AcaTech Ltd wants to migrate its core services and infrastructure to Microsoft Azure, ensuring.
Secure communication between on-premises data centers and cloud services.
Seamless scalability to handle increased client demands.
High availability for mission-critical applications.
Introduction
In today's digital era, securing the network infrastructure for online applications is critical to protecting sensitive data and ensuring uninterrupted service. This project focuses on configuring a secure and scalable network for web and database servers within an online retail application using Microsoft Azure. The solution will provision a robust network architecture, including virtual networks, subnets, network security groups, and firewall rules. The implementation emphasizes security best practices, such as segmenting web and database tiers, restricting traffic with least-privilege principles, and safeguarding data in transit and at rest. This approach ensures a scalable, repeatable, and secure infrastructure, tailored to the needs of a modern e-commerce platform.
Architectural Diagram

Project Scope
Set up three virtual networks, subnets, and peering.
Implement VPN Gateways for secure connectivity to on-premises.
Configure network security groups, application gateway and load balancer.
Apply best practices for security, scalability, and availability.
Security Measures
VPN Gateway: Establish secure, encrypted communications between cloud and on-premises.
Azure Firewall: Securely inspect and manage traffic across subnets.
Web Application Firewall (WAF): Protect against web-based attacks.
DDoS protection: To prevent large-scale attacks.
Network Security Groups (NSGs): Control traffic with inbound/outbound rules in all the subnets.
Azure Monitor/Log Analytics: Integrated to monitor network traffic, log NSG flow data, VPN performance, and health of application gateways.
Prerequisite
Azure Account: Create Azure account If you do not have one yet, click here to sign up for free.
Step 1: Set up virtual networks, subnets, and peering.
Virtual network is the pillar of Azure cloud network. For this project you will set up three virtual networks (AcaTechVnet1, AcaTechVnet2 and AcatechGateway-VNet) and subnets. For a guide on how to Create virtual network in Azure portal check this out
- AcatechGateway-VNet (Protection Tier)
Address Space: 172.18.0.0/16
GatewaySubnet: 172.18.0.0/24
AzureFirewallSubnet: 172.18.1.0/26

- AcaTechVnet1(App Tier)
Address Space: 172.16.0.0/16
Frontendsubnet 172.16.1.0/24
Backendsubnet 172.16.2.0/24
Gatewaysubnet: 172.16.0.224/27

- AcaTech-Vnet2(Database Tier)
Address Space: 172.17.0.0/16
DBsubnet 172.17.1.0/24
Ensure traffic flow between VNets through peering. Configure peering between AcaTechVnet1 and AcaTehtVnet2 and between AcaTechVnet1 and AcatechVNetgateway
AcaTechVnet1 to AcaTehtVnet2 Peering
Create a Peering from the First VNet
In the AcatechVNet1 left-hand menu, locate settings
click "Peerings".
Click the "+ Add" button to create a new peering.
Fill in the following details:
Remote peering link name: Enter a name for the peering (e.g., AcaTechVnet1-to-AcaTehtVnet2).
Select the target virtual network (e.g., AcatechVNet2) from the dropdown menu.
Traffic Settings:
Allow Virtual Network Access from VNet to Remote Virtual Network: Set to Enabled.
Allow Virtual Network Access from Remote Virtual Network to VNet: Set to Enabled.
Allow Forwarded Traffic: (Optional, based on your needs) Set to Disabled unless required.
Allow Gateway Transit: (Optional, based on your needs) Set to Disabled unless you're sharing a gateway.
Local virtual network peering link name: Enter a name for the remote peering (e.g., AcaTechVnet2-to-AcaTehtVnet1).
Traffic Settings:
Allow Virtual Network Access from VNet to Remote Virtual Network: Set to Enabled.
Allow Virtual Network Access from Remote Virtual Network to VNet: Set to Enabled.
Allow Forwarded Traffic: (Optional, based on your needs) Set to Disabled unless required.
Allow Gateway Transit: (Optional, based on your needs) Set to Disabled unless you're sharing a gateway.
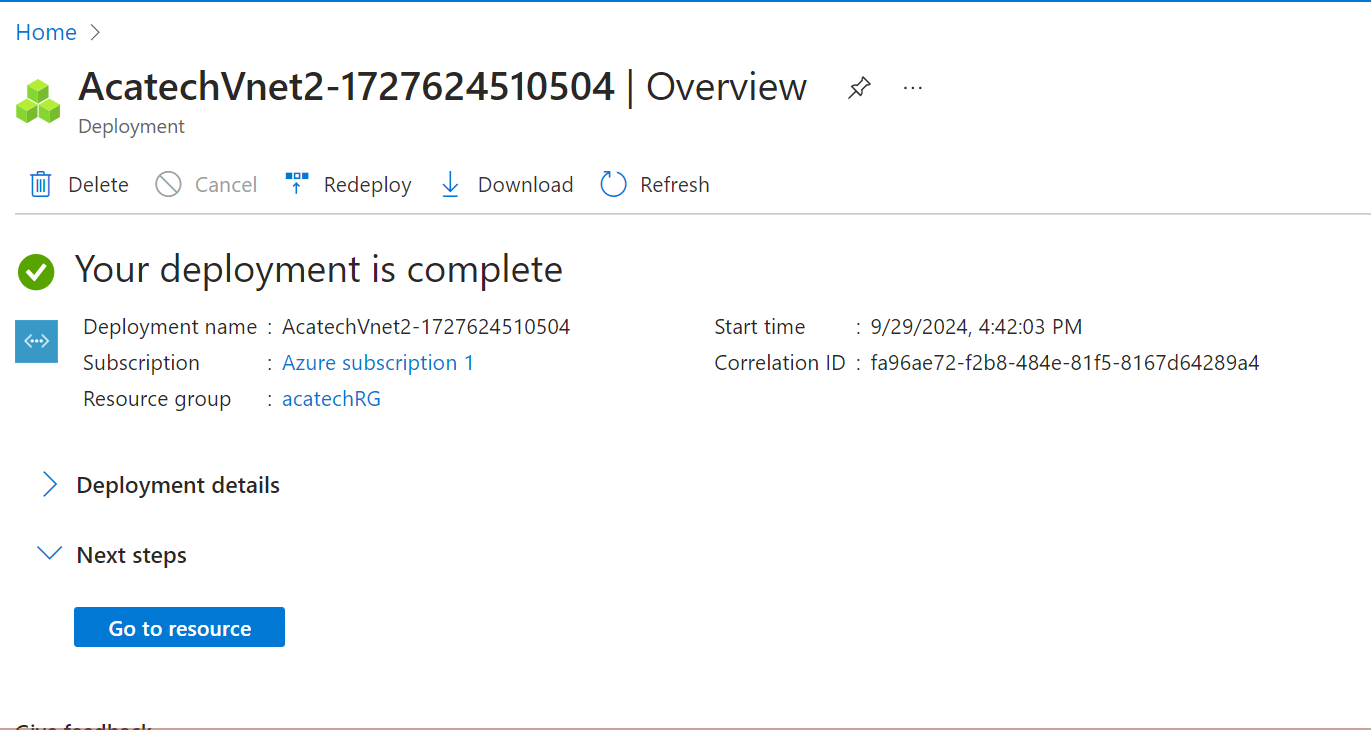
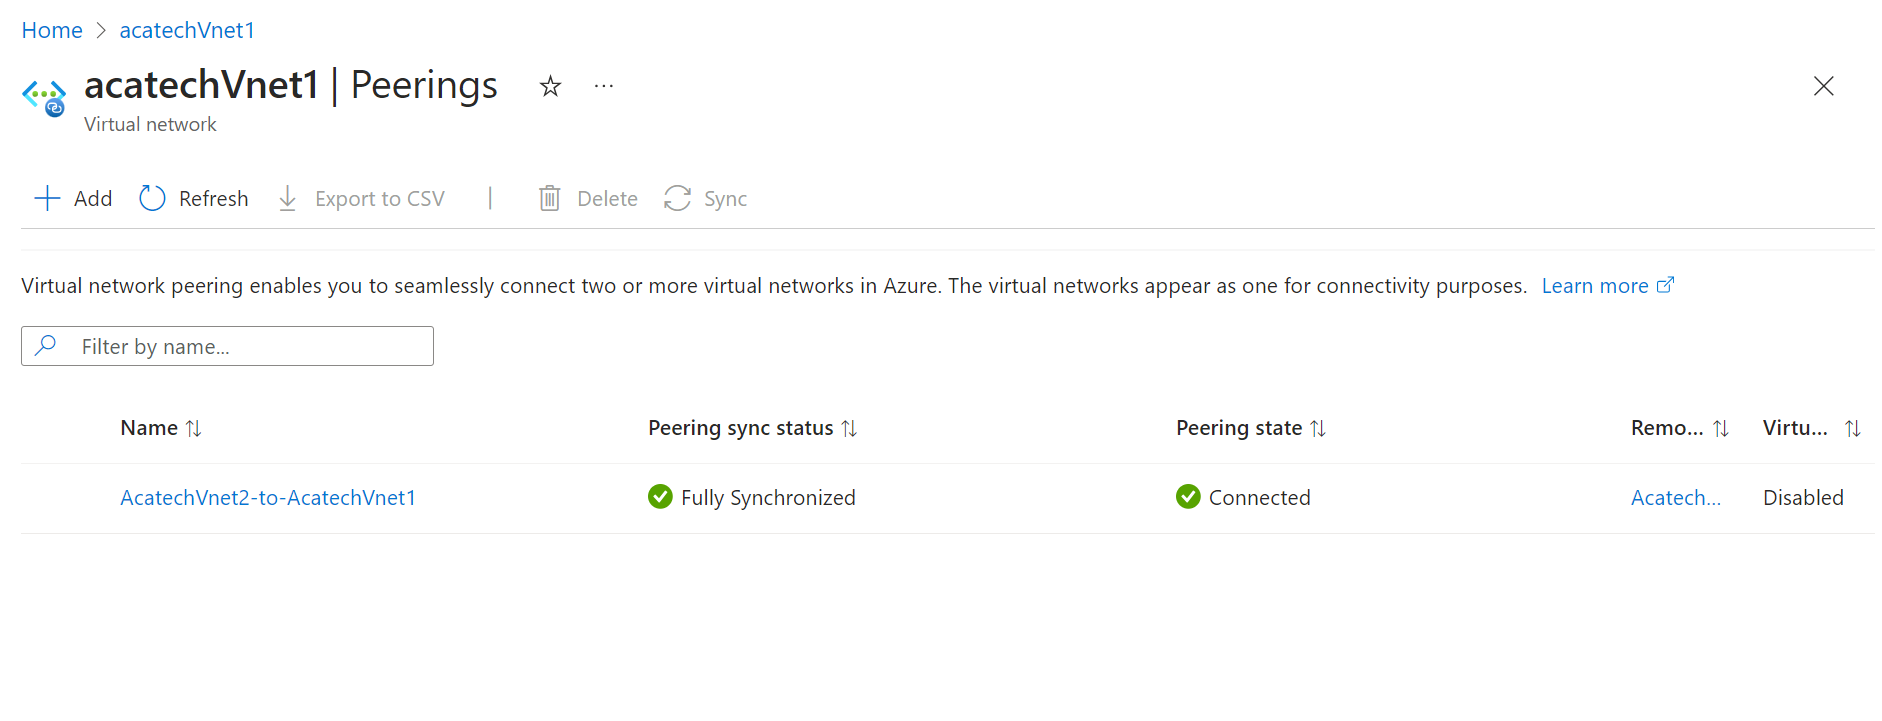
Click "Add" to create the peering.
when the peering is completed, the state should be connected
AcaTechVnet1 and AcatechGateway-VNet:
Create a Peering from the First VNet following same steps in 1. above

Step 2: Implement VPN Gateways for secure connectivity to on-premises.

Step 3: Create and configure Firewall and Firewall policy
In the search bar, enter Firewall. Select Firewall in the search results.
Select + Create.
Create a firewall by using the values in the following table.
| Property | Value | | --- | --- | | Resource group | select AcaTechRG | | Name | AcaTechfirewall | | Firewall SKU | Standard | | Firewall management | Use a Firewall Policy to manage this firewall | | Firewall policy | select Add new | | Policy name | Acatech-firewall-policy | | Region | East US | | Policy Tier | Standard | | Choose a virtual network | Use existing | | Virtual network | AcatechGatewayVNet | | Public IP address | Add new: Acatech-fwpip |
Select Review + create and then select Create. It will take a couple of minutes before deployment completes.

Step 4: Application Gateway (with web application firewall)

Step 5: Create DDoS Protection
Create DDoS protection plan and attach it to AcatechGatewayVNet
In the search bar, search for and select "DDoS Protection Plans".
Click the "+ Create" button to start creating a DDoS protection plan.
In the "Basics" tab, provide the following details:
Subscription: Select your Azure subscription.
Resource Group: Choose AcaTechRG
Name: Enter a name for the DDoS protection plan (e.g.,
Acatech-DDoSPlan).Region: Select East US.
Click "Review + Create" and then "Create" after validation passes.

Associate the DDoS Protection Plan with a Virtual Network
Navigate to the Virtual Networks.
Select the virtual network you want to protect with the DDoS plan. In this case AcatechGateway-VNet
In the left-hand menu, click "DDoS Protection".
Under the "DDoS Protection Plan" section:
Set DDoS Protection to Standard.
Click "Browse" and select the DDoS protection plan you created earlier.
Click "Save" to apply the configuration.
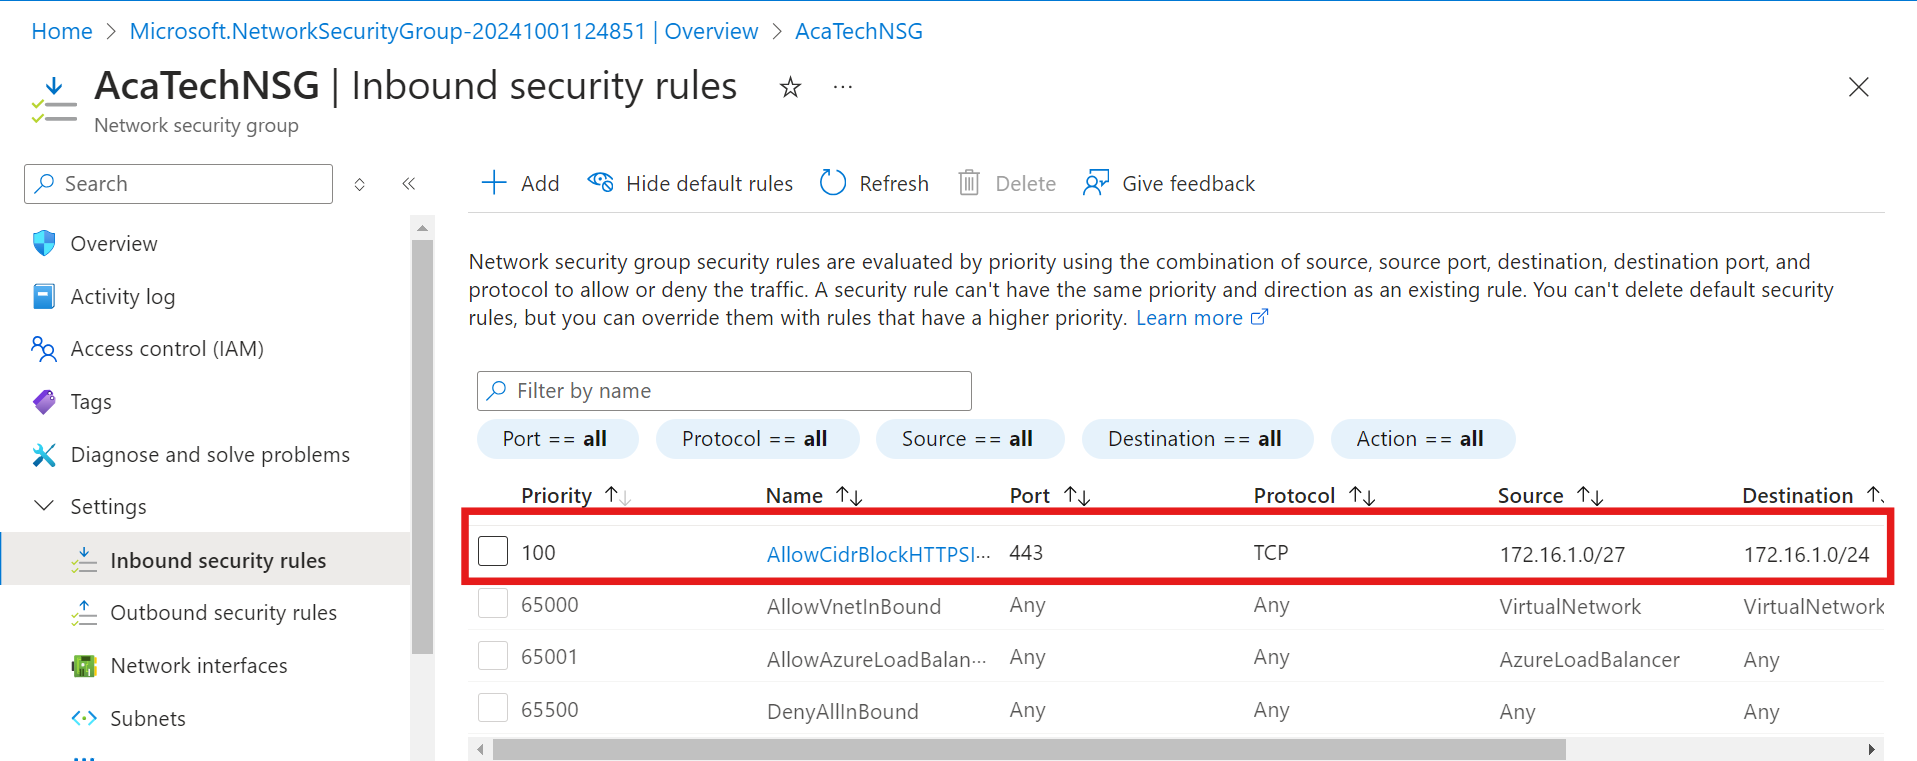
Step 6: Configure network security groups
Step 7: Configure Resources for High Scalability and Availability
Load Balancer: You will create one public and one internal load balancers. while the public will balance traffic from the internet to the app tier, the internal will balance traffic from the app tier to database tier
In the search bar at the top of the Azure portal, type "Load Balancers" and select the result.
Click the "+ Create"
Configure the Basics
Subscription: Select the subscription you want to use.
Resource Group: Choose AcaTechRG
Name: Enter a name for the Load Balancer (e.g., AcatechvnetLoadbalancer).
Region: Select East US
Type:
- Choose Public for internet-facing traffic or Internal for private network traffic.
SKU: Select Standard.
Click Next: Frontend IP Configuration.
Configure the Frontend IP
Frontend IP Configuration Name: Enter a name (e.g.,
FrontendIPConfig).IP Version: Choose IPv4 or IPv6.
Public IP Address:
For Public Load Balancer: Click Create new and provide a name for the public IP. Configure the allocation method (Static or Dynamic) and leave the domain name label as needed.
For Internal Load Balancer: Choose a AcatechNet1 and Frontendsubnet for the private IP.
Click Add, then Next: Backend Pools.
Configure the Backend Pool
Backend Pool Name: Enter a name (e.g.,
BackendPool).Virtual Network: Select the virtual network where your VMs are deployed. For public, this will be AcatechVNet1 and fro private, it will be AcatechVNet2
Associated Targets:
Choose either Virtual Machines, Virtual Machine Scale Sets, or IP addresses.
Add the VMs or VM Scale Sets you want in the backend pool.
Click Add, then Next: Inbound Rules.
Configure Load Balancing Rules
Rule Name: Enter a name (e.g.,
HTTPRule).IP Version: Choose IPv4 or IPv6.
Frontend IP Address: Select the frontend configuration created earlier.
Protocol: Choose TCP or UDP.
Port: Enter the port for the traffic (e.g., 80 for HTTP).
Backend Port: Specify the port the backend VMs are listening on (e.g., 80).
Backend Pool: Select the backend pool you created earlier.
Session Persistence: Set it based on your need (e.g., None, Client IP, or Client IP and Protocol).
Idle Timeout: Configure the timeout in minutes (default is 4 minutes).
Floating IP: Leave as default unless required for specific use cases.
Click Add, then Next: Outbound Rules.
Configure Outbound Rules (Optional)
Define outbound rules if you want backend instances to communicate with the internet through the Load Balancer.
Click Next: Tags.
Add Tags (Optional)
Add tags to organize and manage your Load Balancer (e.g.,
Environment: Production).Click Next: Review + Create.
Click Create to deploy the Load Balancer.

Availability set:
An Availability Set in Azure is a logical grouping of Virtual Machines (VMs) that helps ensure high availability by distributing VMs across multiple fault domains and update domains.
To Create an Availability Set
In the search bar at the top of the portal, type "Availability Sets" and select it from the results.
Click "+ Create" to begin creating a new Availability Set.
Configure the Basics
Subscription: Select the subscription where you want to create the Availability Set.
Resource Group: Choose AcaTechRG.
Name: Enter a name for the Availability Set (e.g.,
AcaTechAvailabilitySet).Region: Select
East US
Configure Fault and Update Domains
Fault Domains: Select the number of fault domains (2 or 3). Fault domains ensure VMs are distributed across different physical hardware.
Update Domains: Select the number of update domains (default is 5). Update domains ensure that not all VMs are updated simultaneously during maintenance.
Configure Advanced Settings (Optional)
Proximity Placement Group: If you need low-latency network connectivity between VMs, associate the Availability Set with a Proximity Placement Group.
Host Group: If you plan to use Azure Dedicated Hosts, specify the host group.
Click "Review + Create".
And click "Create" to deploy the Availability Set.

